We tend to think about our house insulation in the winter, when the furnace keeps cycling on (or not), or when everyone’s bundled up in layers of sweatshirts and hats, whining. This is when we want insulation to act like a sub-zero sleeping bag, retaining our body heat.
We’re less inclined to think about insulation in the summer – we’re focused on the relationship between the AC unit’s health, an expectant mother’s comfort, and the distance to the neighborhood pool. This is when we want insulation to act like a camping cooler that rhymes with ‘confetti’, but with only two syllables.
House insulation helps to keep the indoor temperature inside, and outdoor temperature outside. Each insulation type has an R-rating; “resistance to heat flow”. We typically think of this in terms of slowing or minimizing air leakage. But there are other ways that heat gets transferred:
Conducted through the material, like heating a pot on a stove, or electricity moving through copper
Absorbed by the materials themselves via radiation (pleather car seats on a sunny day)
Convection, which is why air at floor level is cooler than at ceiling level (warm air rises)
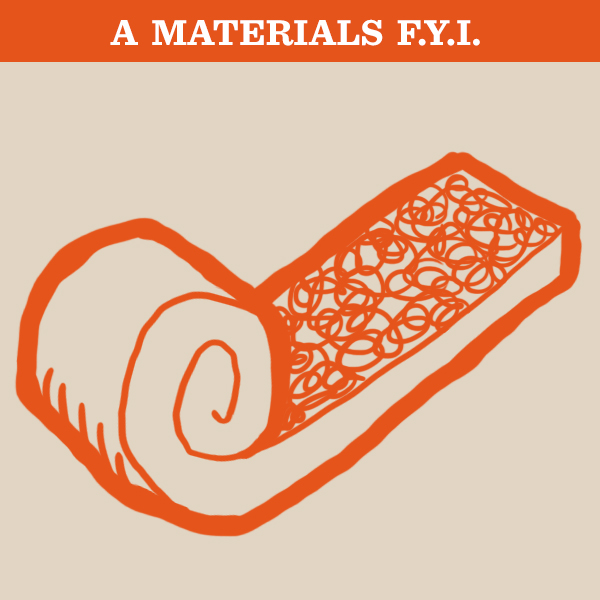
There are three general types of insulation – fluffy itchy rolls of stuff; loose, flake-like fluffy stuff; and sticky chemically stuff. That translates to batt insulation, blown insulation, and foam insulation.
1. Batt/Roll Insulation is Cheap, But Incites Anger and Itching
The most common association we have with insulation is an attic’s fluffy pinkness that looks like a beautiful bed. We have learned (sometimes the hard way) that this is misleading. It is not a beautiful bed; it is cotton candy made of spun glass shards which loves it when we’re sweaty and angry from working in the attic in July. But this sort of disappointment should not rule it out; it’s the most economical way to get the job done.
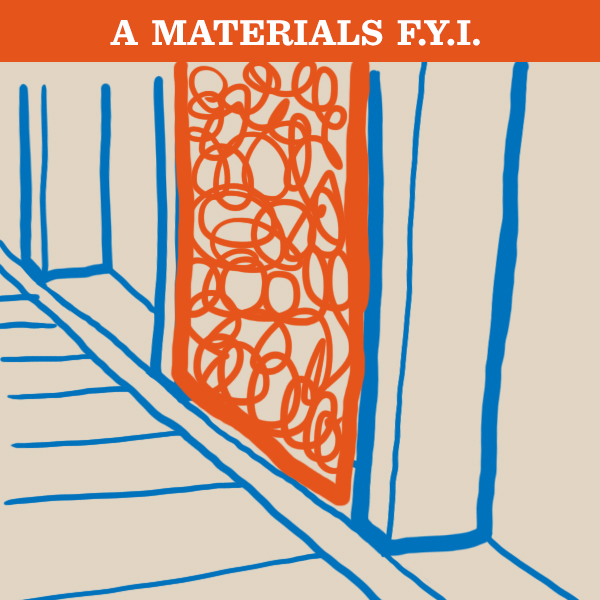
Rolls or batts are the most straightforward way to insulate. Fiberglass has intertwined Baklava-like layers which slow down heat conduction. (There is also mineral wool and cotton insulation in this form.) The only tools required are a a utility knife, tape measure, and staple gun. If you prefer to remain sane during this activity and in the days to follow, consider goggles, gloves, and long sleeves and pants. Installation is a matter of careful measuring and cutting, so that the section of fiberglass fits snugly into the stud wall. Gaps in the corners, or between butted insulation pieces, will reduce effectiveness. A piece of plywood to cut on, and a bit of 2×4 as a straight-edge will help you get your cuts nice and clean, as will a good supply of sharp utility knife blades.
2. Blown Installation is the Opposite of Vacuuming
Far more satisfying, and less infuriating, is to use blown insulation (cellulose or fiberglass). This is still DIY – you can rent a unit that shreds the bales of insulation and blows them through a hose for installation. The blown material settles loosely under its own weight, so is used most for attics, above the living space ceilings. Some types can be blown into finished walls (by making holes in the walls that need to be patched afterwards) or combined with liquid so that it sticks into open-stud walls. But we’re going to focus on basic blown cellulose.
This is best as a two-person job. One stays outside with the shredding/blowing unit, feeding it bale after bale. The other installer crawls around the attic, pulling the blower hose through the maze of joists, trusses, AC units, pipes, and old highschool trophies and yearbooks. You probably want to remove the trophies and yearbooks before you start, or you will never see them again. The feed of insulation through the hose is constant and doesn’t really turn off until your partner runs out of bales or gets into a conversation with your neighbor, so don’t start until you’re ready to go. Arrange some communication system with your partner in case stopping the flow is important (screaming in an insulated space = poor; hammering on underside of roof = medium; cellphone/text message = ideal).
Start at the farthest end of the crawlspace/attic and work back to the door. Think ahead on how to direct the hose, and if there isn’t some plywood laid down to walk the joists, do it now – you’ll have a hard time seeing your way once the stuff piles up nice and deep. Don’t turn this into a ceiling-sheetrock-patch-job-exactly-the-size-of-your-foot. Are you familiar with the stillness of a midwinter snowstorm at night? This is EXACTLY the same … once you’re done installing. Do not attempt to catch flakes on your tongue.
Blown insulation is easy to direct into cramped corners and narrow eaves where it would be almost impossible to get to with rolled insulation. It is fairly economical in cost, and not difficult to install (you’ll feel like a fireman, or like using your shop-vac, when you forgot that you reversed the hose last time to blow leaves out of the garage). On the negative end, moisture (such as a roof leak) may cause the material to settle/clump together, reducing effectiveness and possibly hiding the leak from your suspicious eyes.
3. Foam Insulation is What All the Coolest Kids Do
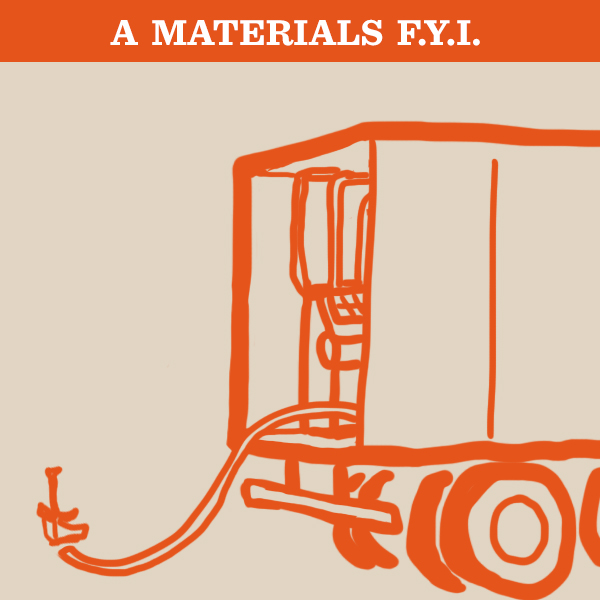
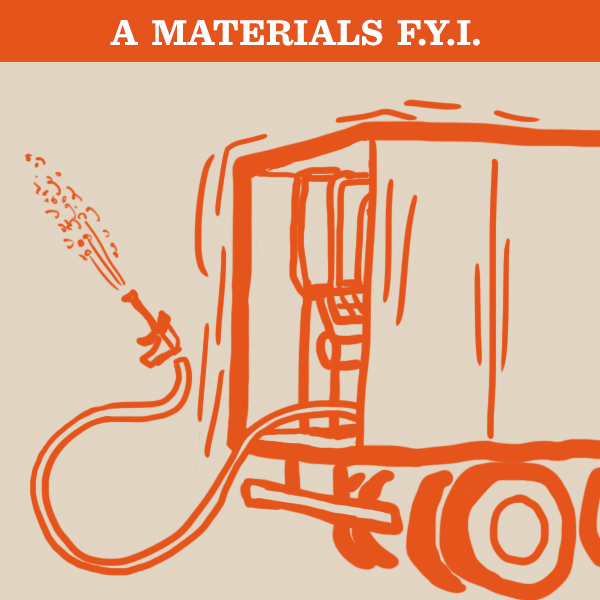
Now this is a whole different ballgame. Foaming a house is like a never-ending version of the spray-cans of STUFF. It requires a lot of equipment (which arrives in a truck), special safety gear, and chemical compounds which mix at the nozzle of the sprayer.
If you’re not familiar with STUFF, it is typically used to fill the irregular (and often tiny) spaces around newly-installed windows and doors. This is an ambitious foam, not like its natural seashore cousin, drifting up lazily onto the beach. This comes in a can, with a straw-like applicator, and once you shake it up and squeeze the trigger, off you go. The foam is incredibly sticky, and not only adheres to any wall surface, it will also ruin your pants and shirt, and cling to your skin. It keeps coming out of the can after you let go, and will dribble on your floor. It leaves a residue everywhere it touches, so like with blown insulation, planning ahead is important.
But the most important aspect of applying this foam is an awareness of how much it swells, and how powerfully it does its job. Overfilling cavities around a window can actually bow the studs and change (or impair) how the window opens. After a day or so, when the foam has swelled and dried, it will look like some sort of funky mushroom growth, and if you’ve overfilled, all those blobs will need to be trimmed off with a utility knife so you can hang sheetrock or trim.
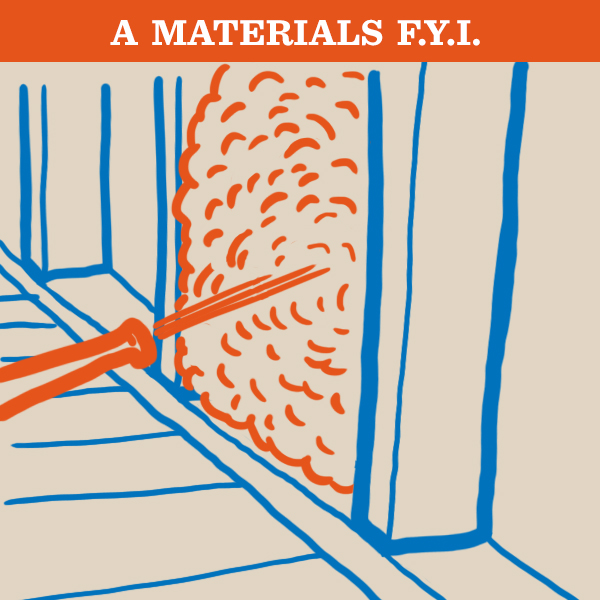
So, imagine that can of STUFF, at an industrial level, filling the space between every stud of your walls and attic. Once it hardens into a solid, it is not only a barrier to heat flow, but also moisture and sound. Unlike batt insulation, it cuts off air leakage. It radically impacts the efficiency of heating and cooling as it holds the internal temperature far longer than other types of insulation. The tradeoff is a high price point. The bonus? It isn’t you crawling around in your attic, trying to figure out why your hair is sticking out sideways, why a yearbook is attached to your elbow, and why there’s no piece of plywood where there should be one, so now your foot is making an entrance through the living room ceiling.
Insulation is some of the least-enjoyable material to do yourself, but can also be one of the most economic ways to improve your utility bills. Just try to tackle it in spring or fall, in order to maintain Good Morale!